Minggu, 17 Mei 2015

Fifty Shades Of Grey by O.P.I - Review and Swatches


For every fan of Mr.Grey, maybe these polishes are for you.
Make sure this O.P.I Fifty Shades Of Grey are now already on your shelf. But if they're not, maybe you should read my review and consider to get them by yourself.

For me, i got this polishes from an online shop here in Indonesia, i bought them on Instagram from @thepolish_id. I dont remember about the price but i think the price is quiet fair for an online shop and because O.P.I Products cant be easily found here in my town so i decided to buy online.

So before i review them, here i introduce you the content of the products:

O.P.I Minis 'Fifty Shade Of Grey' Collections
- My Silk Tie
- Dark Side Of The Mood
- Romantically Involved
- Embrace The Gray
- Shine For Me
- Cement The Deal


Each color represent different detail from the movie. I really adore the story but when they make the movie, i think it's a little bit disappointing. If you haven't read the novel or any synopsis about the movie, it will make you confused. But what i really think that make the movie not as good as the novel is that every character isn't played well by the actor and actress. Mr. Grey isn't as charming and perfect as the novel told about him. And Anastasia's act is the worst. It's not that i'm a good actress or what but if you watch the movie you will know why i said so.. I'm so dissapointed and i hope in the next movie (Fifty Shade Darker) Dakota already improve her acting skills.

Andddd back to the polishes!
Here let me give you review of each

------------------------------------------------------------------

My Silk Tie
i think this color inspired by Mr.Grey's favorite tie to bind his subs. It's also Ana's favorite and oftenly appeared in the movie.


------------------------------------------------------------------

Dark Side Of The Mood
this color is so dark and describe the dark side of Mr.Grey. The abuse that he got when he was a little child make him a sadist that lead him being a dominant on his sex life. This color is a dark grey, well, the name explain a lot.


------------------------------------------------------------------

Romantically Involved
the blood red color inspired by the Red Room of Pain of Mr.Grey. The room are so 'red' and, well, you should watch the movie by yourself because it's quiet hard for me to explain in words ;)


------------------------------------------------------------------

Embrace The Gray
nobody ever really close with Grey's heart. And until the time Ana came and everything's change. She embrace the gray side of Mr.Grey. She make him do romance. Now you really want to watch the movie, wont you? Maybe i should suggest you to read the novel, maybe just read the novel.


------------------------------------------------------------------

Shine For Me
The dazzling grey give you a romantic nail color but in another hand it also feels so cold and pretty. This polish is a sheer color so i suggest you to apply a base color first then apply this as a top coat. This time i have Cement The Deal as the base coat so it looks like a light sparkling grey. I think this polish inspired by how sparkling Ana's life after she met Grey. And so does Grey's.


------------------------------------------------------------------

Cement The Deal
Maybe some of you already know about The Deal that Ana and Mr.Grey have. Maybe this polish inspired by it. It's a contract about their Subs-Dom Relationship which ended up she never sign it. And in the next novel you will know that........... (i'm so kind that i wont give you any spoiler this time, you should thank me because i'm usually a spoiler-ghost :p)


------------------------------------------------------------------

So, which color is your favorite?
I really love Cement The Deal and Shine For Me.
But if you once try Pelican Grey from Chine Glaze you might feels that Cement The Deal is quiet similar with Pelican Grey.
And i think both of them have the same quality so it's all only about the brand.

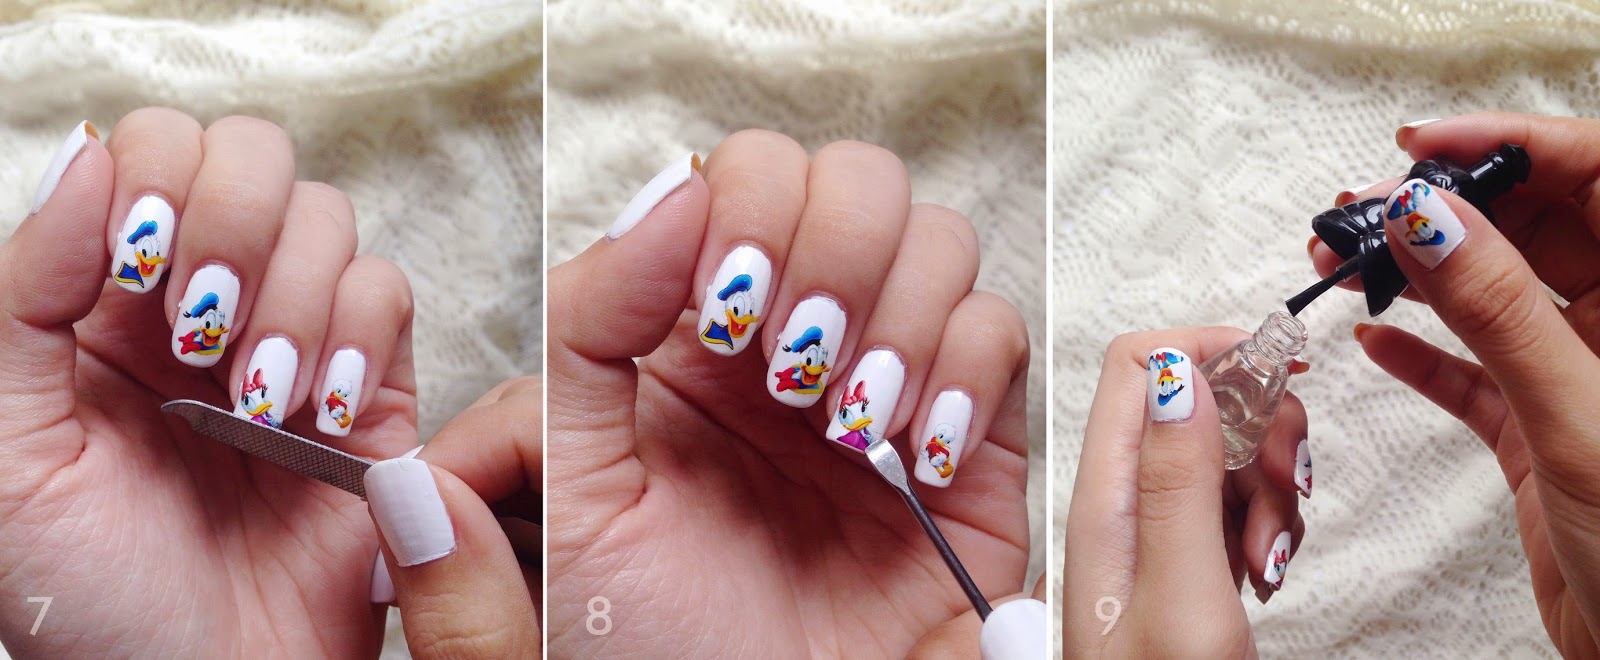
I'm trying to do some nailart with these collection and it ended up like this (it's a super quick mani so i hope it doesnt look that bad) :p


------------------------------------------------------------------


And do you guys curious about the next of this trilogy?
I've just finished read Fifty Shade Darker and maybe..... i'll review it on the next couple post (i told ya i'm a spoiler ghost :p) but i'm will not only review about the novel but i'll also bring my latest vacation in Singapore which i also brought the novel along with me as a companion when i'm waiting every flight.

See you later!
xoxo

Minggu, 15 Maret 2015

Water Decal Sticker Nailart Technique - Review & Tutorial

Hello, today i'm going to tell you my first experience doing water decal nailart! Basically i really love it because the best thing about doing this technique is you can do  even the most difficult and complicated pattern and design just in a couple minutes and you wont mess with the design because you just need to put the sticker/pattern on your nails, very different with free hand nailart technique which you have to draw one by one and takes a very loooong time (but free hand give you a very different kind of satisfaction that water decal cant give you, btw :p)
**Halo, hari ini aku akan berbagi sedikit pengalaman pertamaku menggunakan water decal nailart. Sebenernya, aku sukaaaa banget teknik ini, kenapa? karena dengan pakai water decal sticker, kita ga perlu gambar satu per satu desain/pola yang kita mau. Cuma perlu beberapa menit dan pasti hasilnya ga akan berantakan, karena sangat berbeda dengan teknik gambar langsung, otomatis water decal sangat cepat & sempurna, cuma pasti rasa 'puas'nya bakalan bedaaa banget juga sama kalau kita gambar free hand hehe**

So this is the tools that you will need to do this water decal nailart :
**jadi ini beberapa peralatan yang dibutuhkan untuk melakukan nailart dengan teknik water decal**


NAIL-BASIC-KIT : consist of 6 tools, they are nail clippers, nail buffer, nail nippers, and the tools to fetch every small gap on the nails (i think, hahaha) **terdiri atas 6 alat, yaitu alat pemotong kuku, penghalus kuku, pinset kuku, dan alat kecil untuk mencapai setiap celah kecil pada kuku/jari dan kuku**


NAIL POLISH : this time i only use 1 nail polish as the basic color, you can use more if you want. One thing that i almost forget here, dont forget the top coat for the finishing :p **kali ini aku hanya menggunakan 1 warna kutek sebagai warna dasar di kuku, bisa lebih jika ingin. Dan satu hal yg aku hampir lupaaa, jangan lupa top coat untuk finishing setelah sticker ditempel agar water decal nailart kamu lebih tahan lama hihi**

WATER : water used to stick the sticker to the nails, the sticker wont work if it's not wet before you stick it to the nails, but the polish need to be dry before you put the sticker! **air digunakan untuk merekatkan sticker ke kuku. Sticker tidak bisa bekerja tanpa air, hampir sama kerjanya seperti tatto-tatto mainan anak-anak yang harus ditempel dengan air hahaha tapi ingat ya, kutek di kuku harus kering dulu sebelum sticker ditempelkan.**

WATER DECAL STICKER : water decal sticker can be found anywhere online, i think. But for me, i usually get it from The Nail Fairy Shop (on instagram). I can found so many designs there in a very reachable price! **water decal sticker bisa ditemukan secara online di berbagai sosial media/toko online. Tapi aku biasa beli di The Nail Fairy Shop di Instagram (@thenailfairyshop)**


This time i'm using my Donald & Daisy Water Decal Sticker, here's how it looks after i finish the whole nails :
**Kali ini aku menggunakan sticker water decal ku yang bergambar Donal & Desi Bebek (i really loveeee them!) dan ini adalah tampilan setelah aku selesai men-nailart seluruh kuku tangan**


The Donald and Daisy are perfectly drawn there, right? Because it's a sticker, can you imagine how much time that you need to draw them all by free hand? With water decal you only need around 5 minutes and voila! :D but there's one thing that i really love from water decal is the sticker feels like tattoo, they're not 3D and can stick perfectly longer than the common sticker.
**Donal & Desi tergambar dengan sangat sempurna, kan? karena mereka nggak digambar tangan hahaha bayangin berapa lama waktu yang dibutuhkan untuk menggambar semuanya itu? Dengan water decal cuma butuh 5 menit dan bisa selesai semua. Dan satu hal lagi yang kusuka dari water decal adalah water decal tidak 3D seperti sticker pada umumnya, dan lagi dia tahan lebih lama :)**

And here's my version of step by step (idk if there's another way to do it, but i do it this way hehe)
**dan ini adalah langkah-langkah tutorial water decal nailart yang aku lakuin di rumah, kalau ada yang punya cara lain mungkin bisa di-share hehe**


1 - apply the base color **aplikasikan kutek yang mau kamu gunakan sebagai base color/warna dasar**
2 - 3 - cut the water decal sticker paper to make every sticker separated from the other ones so it’s gonna be easier for you to apply it **potong kertas/lembaran stiker water decal (per item sticker/desain) supaya gampang saat pengaplikasiannya nanti**
4 - with the nipper, pick the sticker and put it into the water, wait until a couple second **dengan pinset masukkan sticker ke dalam air, tunggu beberapa detik**
5 – 6 - while it’s still wet, pick the sticker gently from the paper and still with the nipper, put the sticker onto your nails **selagi masih basah, pisahkan sticker dari kertasnya secara hati-hati dan dengan teteap menggunakan pinset, letakkan sticker ke kuku**
7 - if you want to place the sticker on the tip of your nail, you can fix it with the nail buffer board **jika ada sticker yang ingin diletakkan di ujung kuku, rapihkan sisa sticker dengan buffer/pengasah kuku**
8 - use the tool to pat-pat on your sticker to make it perfectly stick with your nails **gunakan alat yang ada pada peralatan nailart basic mu untuk meratakan bagian terkecil pada sticker agar dapat menempel dan rata dengan sempurna**
9 - use the top coat as the finishing, with it the water decal may last longer on your nails. On mine it may last at least 1-2 weeks **gunakan top coat untuk melapisi water decal nailart mu agar dapat bertahan lebih lama. Biasanya dengan top coat, nailart bisa bertahan 1-2 minggu jika tidak mengerjakan pekerjaan rumah yang berat**

And it’s done! These 9 steps only takes 5-7 minutes, and i really love it!
**dan selesai! 9 langkah itu Cuma butuh 5-7 menit lho kalau aku hehe, dan aku sukaaa banget! Karena dengan waktu yang cepat tapi tahannya bisa laamaaa dan hasilnya bagus.**


So, have you get or maybe try your water decal nailart? I think water decal really help you if you’re a beginner :)
**Jadi, apa kamu udah cobain water decal nailart? Menurutku teknik ini sangat membantu jika kamu masih baru dalam nailart :)**


xoxo

Minggu, 08 Maret 2015

The Body Shop COLOUR CRUSH - Swatches & Review


Hello there, very long time no post. Sorry for procrastinate my blog post for a couple months, it's because my job at the office becoming soo cray cray lately. I cant make it to do any post even that i really wanted to :(

So today, i wanna review my new babies that i just got last week. It's The Body Shop new nail polish products, COLOUR CRUSH.
The name is so catchy and make me really want to now, do they really going to be my crush?
I saw at the internet, the colors are quiet attractive and they give you quiet a lot options of shades, here they are...


So, i went to the closest The Body Shop store in my city and got some of these pretty polishes for me.
The first time i saw the packaging, i think it has quietly the same shape with Maybelline Color Show. But when Maybelline has a black cap at the packaging, The Body Shop bottle has the silver one.
Every bottle consist of 6,8 ml polish and i think it's good enough, i mean it's not too much which can make you feel that the polish will take forever to keep on your rack.

I took two color as a trial. I picked the deep-hot-pink and the half-peach-orange as my starter hoho
And for me, these color are look almost the same in a glance.


The pink one is 'Cupid Pink', i think the color is really suitable for every pink lover out there (also me). Because the pink is seriously pretty and match in every look and every situation (which is for every pink lover-once again like me-pink will never wrong) hahaha
But if you want the other pink, like, maybe you want the lighter one, you may try Rosy Cheek or Oh Petal. The pink are light but pink enough (i have no idea how to explain that hahahaha). You can check it at their website or at the polishes table i've showed you above.

And the second one, the peachy-orange polish that i picked, it's 'Just Peachy' shade. The color is absolutely refreshing. You can saw it and i know you do think just like me. But i dont think the name really show the polish, i think it's more like 'Just Orangy' that 'Just Peachy', do you think so?


You can see the price, i think it's quiet pricey, i mean, the price (in Indonesian Rupiah it's 99.000 or around US$ 8) is only a couple bucks from O.P.I and China Glaze in my country (which is usually go for 150.000 in rupiah or around US$ 12), but the endurance is a little bit dissapointing.
The first day i applied it on my nails, i immadiately get the scratch on it. The polish are peeling just by a slight crash. I mean, it doesnt last as long as i thought before.

So here's a little conclusion about my swatches and review for The Body Shop Colour Crush (the grade is from 1-10) :


The Endurance : absolutely i dont think i can say that it's satisfy me, because it's not even last as long as a thought. But because it's also 'not that bad' i think it's 5.5 out of 10.
Color Options : they're just launched this products but the color are so attractive and vary. So i really appreciate this one, so the color options is 9 out of 10.
Scent : sometime i find a polish can make me dizzy because the scent is too strong. But this one is not that strong so the scent is good enough. Even though, i think Body Shop can make it more perfume-less, yeah, just like their other products, so it's 8 out of 10.
The Speed of Drying : well yeah, it can dried quiet fast, so i'm satisfy with the speed. It's 8 out of 10.
The Packaging : i've told you before that the packaging is not really attractive. The bottle shape doesnt show the 'pricey' qualty. And more about it, the other brand already has almost the same packaging with this one, so i think they should try another shape to make people think 'wow that's The Body Shop polishes!' even when they saw it from afar or just a glance. So the packaging is 6 out of 10.

And last but not least...


Re-purchase?
Yes!

Reason?
Because it's easier for me to find Body Shop's at mall than another good polishes here in my town. And another reason is that the colors that they offer are vary but not too many so it doesnt make me confused to choose one. Another polish are tooo many various color and sometime it makes me confused which one that i already have and which one that i should purchase.

What do you think? ;)

-------------

Further information:

The Bodyshop Indonesia Official Account -- instagram -- web page -- facebook

Sabtu, 17 Januari 2015

O.P.I Sheer Tints part II - Monarch Butterfly


Dearest readers,
this time i'll post another experiments using O.P.I Sheer Tints.
Maybe many of you already see this manicure before in another blogs or websites, but i decided to keep make the post and also the nailtorial (my very own version) of MONARCH BUTTERFLY manicure!
This nailart really simple and beautiful, the point of the design is the color of the wings. The Monarch Butterfly's wings usually shown in gradient/ombre nail color. So that's why i'm using O.P.I Sheer Tints here. This O.P.I product is the best to do this manicure in my opinion. They blend well and the gradient they made is beyond perfect, seriously! :D

---------------------


NAILTORIAL STEP BY STEP :

1. apply the base color, i'm using Yellow from Trendy Nails by The FaceShop
2 - 4. apply the sheer tints by O.P.I, i'm using Don't Violet Me Down. The purple color blend well with the yellow base so it makes a soft brown color, really look like the real monarch butterfly wings. For the first layer, apply the sheer tints to the whole nail, second layer is a half nail, and the last layer is a quarter of the nail. That will make the gradient look good.
5 - 7. start draw the wing's pattern. I'm using black dotting pen by The faceShop to make it easier to do the pattern.
8. Fill the Black area of the wings with black nail polish (you can do it with any black polish, but this time i'm using Black polish by The FaceShop).
9. For finishing touch, make some white dots (i'm using white dotting pen by The FaceSHop) at the black part. And it's done!


---------------------

But i also make some modification here. How if the monarch butterfly turn into a Rainbow-Monarch-Butterfly? How if the wings are not only have 1 color but colorful like a rainbow? Let's see..


I'm using all of the Sheer Tints color from the minis series of this product, the base i'm using white color (to do this rainbow effect i already the tutorial a couple post before, or you can see it HERE)

Aaah i really love the butterfly with rainbow color, hahaha how about you? Have you done this monarch butterfly manicure on your nails? How's your version of this mani? Dont forget to use your imagination to modified your own monarch butterfly :D