Sabtu, 05 November 2016

Rumpumpumpurple & Surfgreen Petitgguy (2) - The Nails


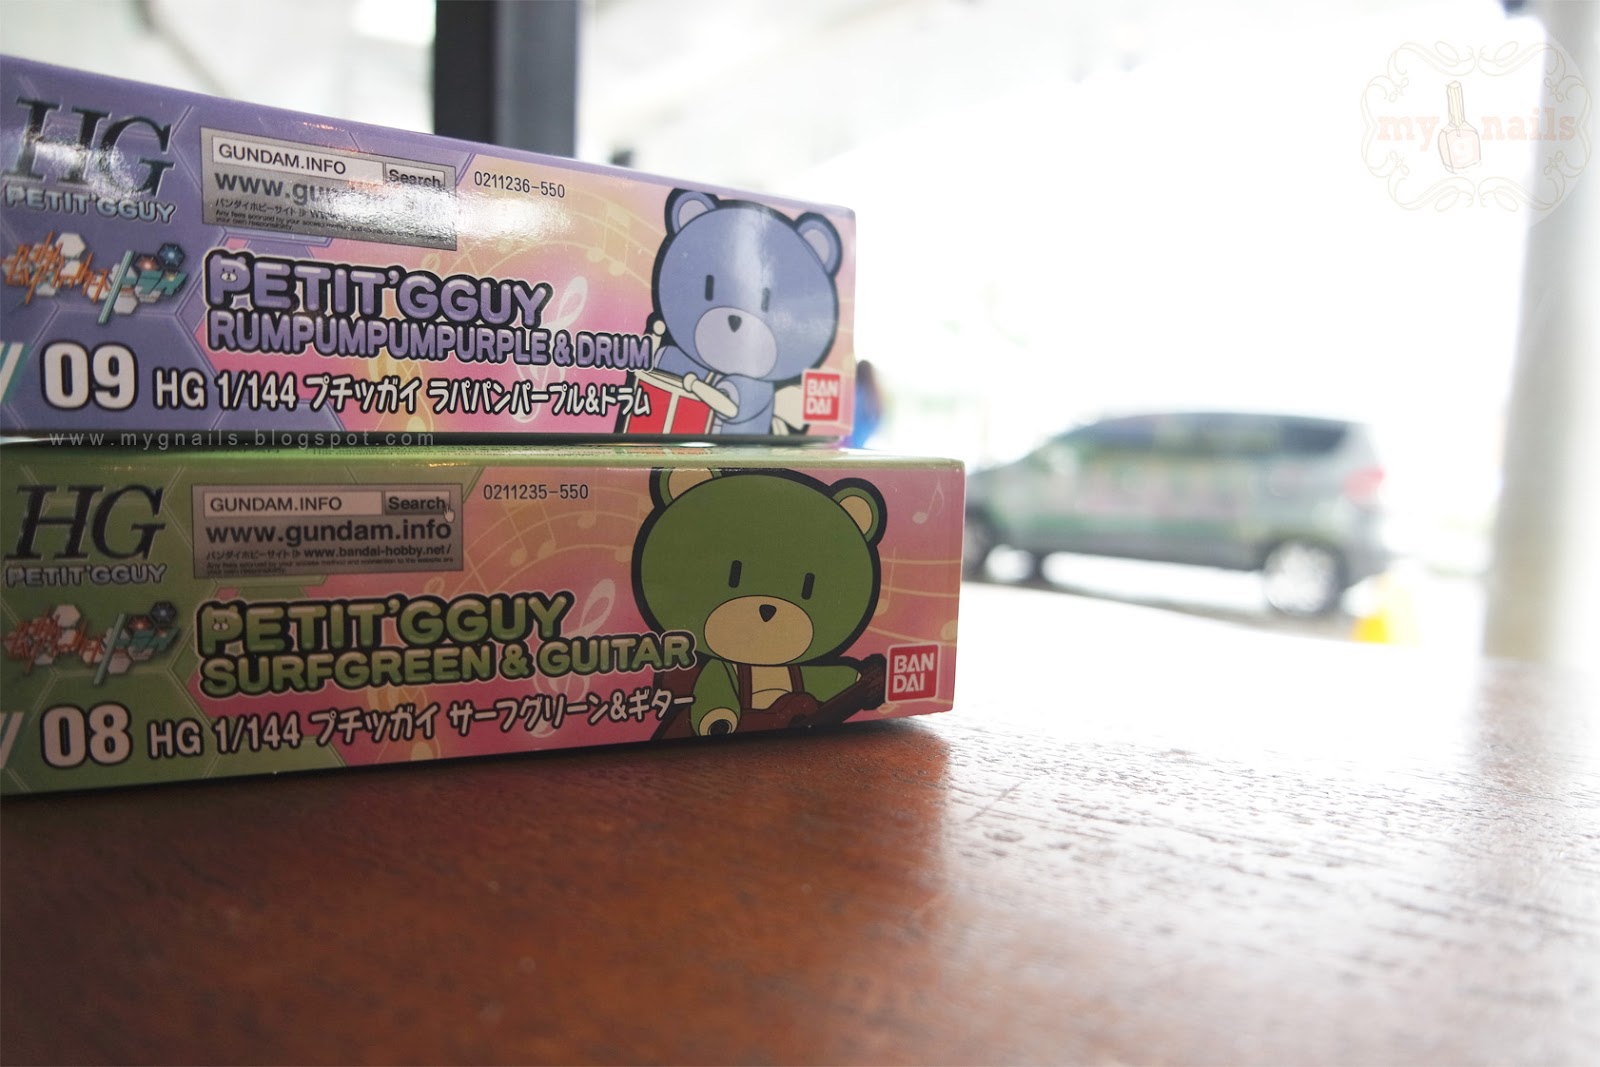
The last time i talked about My newest petitgguy collections, i tell you how i think about the products. Now, as usual, i paint the bears on my nails!
For this Petitgguy Nailart simple design, you just need these :
- light or lime green color nail polish
- darker shade of green color nail polish
- light & darker purple nail polish
- base & top coat polish for before and after the nailarts
- black small rhinestone for the bears' eyes & nose


- - - - -

And here a little step by step of my petitgguy nails :


1. Prepare your kit! This time i will just demonstrate the purple one, so here are the kits..
2. Make the half-circle head of the petitgguy using the darker shade of your polish, darker purple & green.
3. use the same polish to make the ears.
4. by using the light purple (here i'm using Lily by Revlon Top Speed Nail Polish) make the mouth area. It's a smaller half circle at the tip of the nails.
5-6. while the polishes are still wet, put the small black rhinestone to be the eyes and nose of the bear.
7. after the 3 rhinestones are already on the face, wait till the polish dry.
8. after the polish really dry and done, you can apply the top coat. remember that you really need to wait until it's really dried, because the oat may ruin the face (especially the nose & eyes). They may changed position if the polishes are still wet!

- - - - -

And these are the coat and rhinestone (i actually forgot to use a base coat, and it makes my nails yellowish later, so u need to apply top coat first).
What i can suggest you is Revlon's base & top coat which can be used as base coat before you apply polishes, and also can be a finish touch after you done with your nails. This is the product you can see it here --> Revlon Base & Top Coat.


I got these mate top coat and the small rhinestones in wheel from www.bornprettystore.com.
They will give you a very fast respond by email & fast shipping process too!
We just need to have a credit card or paypall account for the payment. IDK if they can proceed with debit card, tho.

- - - - -

Here's how my nails look after i apply matte top coat on it.
they are look dove and yet you can still see the contour of the face, eyes, and noses, that's why i prefer the matte one than the glossy coat!


For any further question and comments, you can just ask me!

Loves,
xx

Minggu, 23 Oktober 2016

Rumpumpumpurple & Surfgreen Petitgguy (1) - The Reviews


Last week i just got these newest collection of Petit'gguy from my boyfriend, Rumpumpumpurple & Surfgreen Petit'gguy. These cutie are my 8th and 9th petits after the Pandagguy (the 7th) that came a couple months ago.
Just like the other Petit'gguy, the 8th and 9th ones come in a small box that still have the same design with the previous ones. The boxes are like this, i bet if you're a collector like me, they're gonna look familiar :


but since these two have additional items for each of them, the runner are a little bit different.
For the Rumpumpumpurple, we can see the additional drum with broken-white color which is also the color for the base and bow.
And for the Surfgreen, the guitar, base, and back-bow are presented in sweet brown color.
So, if you already have the previous collection, you absolutely realized that this two has more color than the previous ones. Just like the Pandagguy, they have 3 different color of runner, which the previous 6 are only have 2 color in a pack (correct me if i'm wrong).


and as you can see, the manual step by step are quiet the same with the previous collection, so if you've already had the other seven, i think you don't even need to sneak a peek into that paper. Because even for the additional new instrument like the guitar and the drum, you just need to put it on the shoulder before you put the head on the body. Maybe you just need to put attention on the stickers because they're so tiny and the tidier you put it, it's the better.
These are the stickers for each of them :


For me, after build my seventh model of petitgguy (also the panda), it's easier now to build it by cut them appart from the runner first, then build them after that. Because if i really follow the step by step as written at the manual, for me, it takes a lil more time :p
So i usually put them appart like this :


and fyi, because of the additional instrument/items, you need to put the head after you put the instrument like this, because the guitar and the drum are placed at the shoulder :


and for the tails, i just realize that the hole isnt really round!
it looks like this :


And after some simple steps.............
Voila!
It's done! hehehehehe :D


Closer look of these two cutie :


What do i think about these Petit'gguy number 8th and 9th :


So, what about you?
What do you think about these two?
Overall, because i really like them since the first time Bandai launched them, i think if you ask my opinion, i'm gonna be biased, hahaha
And because of that too, next week i'm going to show you my petitgguy nails that inspired by these two cuties so, stay tuned :)


xoxo
MAYANG (myg)

Jumat, 12 Agustus 2016

Ruby Wing Swatches & Review - My very 1st Time Ever!


Hi! This is gonna be my very first time reviewing Ruby Wing Nail Polish. I feel so bad that since the first time I love to play with polishes, I never thought to try this product. The last time I remember was a couple years ago when I wanted to buy and try one, I read some review saying that not all of their Ruby Wing polishes can change color. So… why should I buy this product, then? They are selling us their color-changing product but not all of them can work properly on different people that I’ve read the review. So, I don’t think I want to try, it’s gonna be disappointing, I thought. But lately I think like, whatever, I wanna try this anyway. I want to see, is it really that great (the color changing effect)? And I also want to prove is it really working or not. So…….. I bought some from an online shopping web here in Indonesia (blibli.com). I just need to write down what I want, so I write ‘ruby wing’ on the search field and voila! It shows so many options, shades, and online shop that selling these polishes. I choose some and pay it right away and after some couple days it arrived at my home! Hoho

The 4 shades that I bought were :

 
(left to right: Zen Garden, Wild Flower, Saloon Sweetheart, Eternal)


1.       Ruby Wing ‘Saloon Sweetheart’
It’s a red-kinda-light peachy color that looks so delicate yet gonna be look a deep dark red under the sun shine (outdoor).

2.       Ruby Wing ‘Eternal’
It’s a light green, look like a green-leaf, but it’s gonna be look dark greyish green on the outside under the sun shine.

3.       Ruby Wing ‘Zen Garden’
This one is a light and pale purple. It looks so pale that it’s kinda look grey or ashen sometime but it will be look like a deep dark purple under the sun shine. And I kinda like it! The indoor look is too pale and I already have one like this from Revlon Top Speed Nail Polish in ‘Lily’ shade. They are kinda look the same.

4.       Ruby Wing ‘Wild Flower’
And this one was my favorite! The kinda glittery yellow color made me really in love and bought this one. Under the sunshine it will be look kinda peachy-orangey dark yellow.

- - - - -

These are the basic review that I can give to you BEFORE I try them up on my nails. After I try them all, these are my thought about these 4 first polishes I have from Ruby Wing :


 Ruby Wing ‘Saloon Sweetheart’ 


When I tried this one, I was satisfied with the result and love it so much!
Just like how it looks on the web, the peach color is very delicate and nothing’s wrong until….. I try to go to the outside to prove the solar effect. I put my nails under the sunshine for 15 minutes and nothing happened L I was really disappointed but then I read some reviews said that they also failed their polish, it simply doesn’t change color.. well then..

 - - - - -

Ruby Wing ‘Eternal’ 

 
After I failed on my first trial with my Saloon Sweetheart shade, I don’t expect a lot from my Eternal. But overall, the color is really nice and I really like this kind of green. It isn’t too dark but it is not a light ‘neon’ green too. It’s a light green leaf, and really good in my skin. I think if you have a fair-medium shade of skin, this color will match so well with you.
You can see it in one of my post on my instagram page -- HERE

 - - - - -

Ruby Wing ‘Zen Garden’


I don’t think I can say a lot about this shade. I already have another shade from Revlon Top Speed Polish and it looks really alike with this one, the shade named ‘Lily’. But this Ruby Wing dry faster and I can feel it thicker that Revlon’s.
But Ruby Wing’s price is 6x more expensive than Revlon’s. so, if you want the quality, I think it’s better for you to purchase Ruby Wing’s. But for daily, if you’re not really into the color and just for collection, Revlon’s Lily isn’t bad, tho. 
 
- - - - -

Ruby Wing ‘Wild Flower’


 This color is sucha cutie. I really really really love it. But when I tried it up, omg it’s a sheer shade. I need to apply it 5-6 layers per nail. And to dry it, I need a very loooong time. Yeah, basically I am not a fan of sheer polish, for an ombre maybe it will look good, but well, for daily use, I don’t recommend this one.


- - - - -


So now you can see, here's my swatch (i'm too lazy to do a full hand swatch, so here's my fastest way to do a swatch : 1 shade per nail ehehehehehehehe
the first picture i take it in the indoor room, then the second picture i take it at the garden of a mall (outdoor but not really sunny that time)

 
 (indoor look)
 
 
(outdoor look, they're not even a slightly darker, are they?)


- - - - -